The following screens within Mechanic’s Mate feature a Media button; so that, PDF format documents, images and videos may be attached:
Work Orders
Create CM Work Order
CM Work Orders
CM Work Order Completion
PM Work Orders Due
PM Work Order Completion
Work Order History
Equipment Information
PM Task Information
Part Information
Employee Information
The following filetypes are supported for attachment:
PDF Documents
GIF, JPG, PNG Images
MP4 Videos
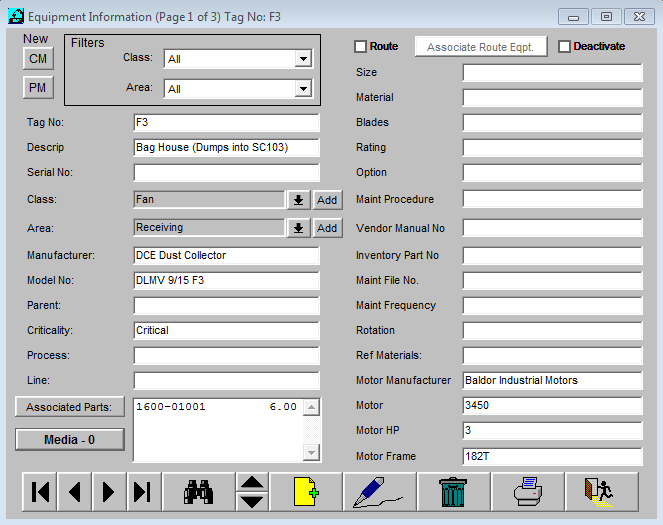
Below is a sample of the Media button in the Equipment Information screen. Notice the Media button displays the Attached File Count and toggles to red when the count is greater than zero:
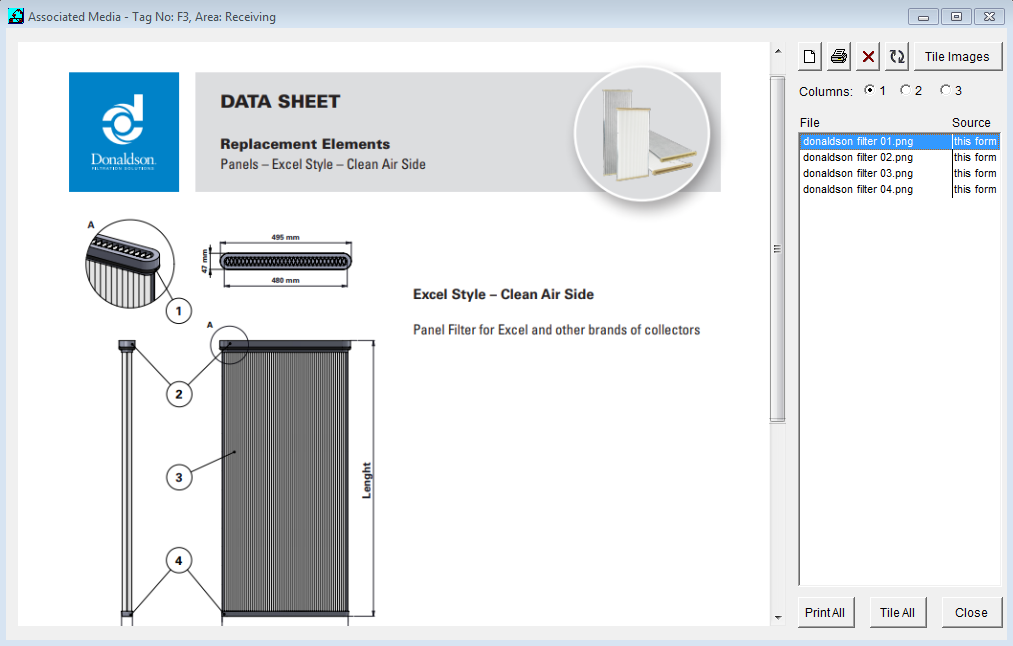
When the user clicks the Media button, the Associated Media screen is displayed as shown below:
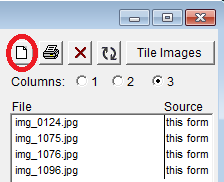
The Add Files button is shown below circled in red:
When the user clicks on the Add Files button within the Associated Media screen shown above, the Windows Open File Dialog is displayed as shown below:
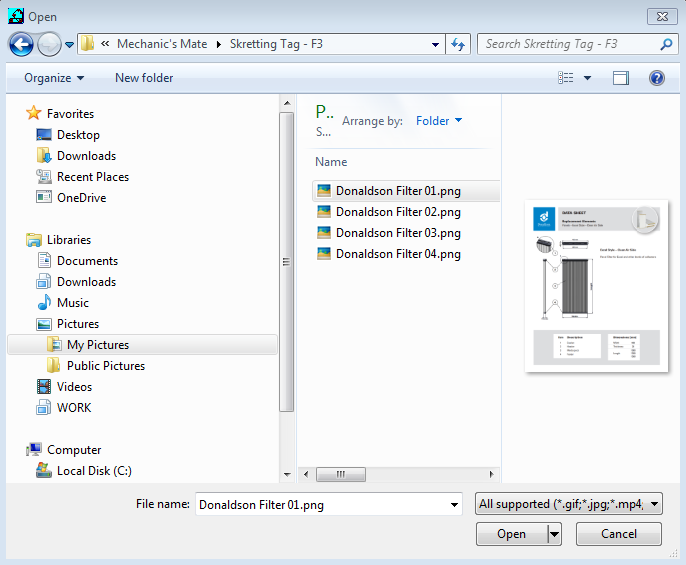
The Open File Dialog shown above allows the user to choose a single file or multi-select files using the Windows standard <CTRL> + click or <SHIFT> + click combinations. Notice the Open File Dialog has a drop-down filter in the lower-right corner for filtering on Images, PDF, or Video file types. The File Type filter defaults to “All supported” file types. After selecting the desired file(s) and clicking the Open button, the user is returned to the Associated Media screen as shown below.
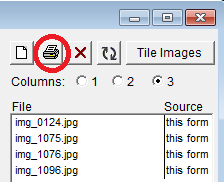
The 2nd column of the File List is Source as shown below circled in red:
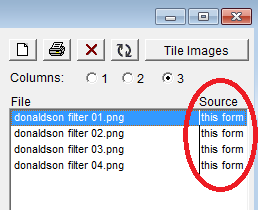
Source refers to the screen/section within the Mechanic’s Mate Software in which the file was originally attached. This is important since it tells the user at which data level the file was attached. For example, possible values include: “Eqpt”, “PM Task”, “this form”, etc.
The Delete Selected Files button is shown below circled in red:
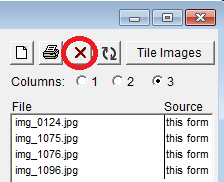
The user must choose file(s) the files to delete prior to clicking the Delete Selected Files button shown above. Multi-select of files using the Windows standard <CTRL> + click or <SHIFT> + click combinations is supported.
The Rotate 90% button is shown below circled in red:
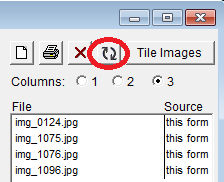
The user must choose the file to rotate 90% prior to clicking the Rotate 90% button shown above.
The Tiling Images functionality allows the user to display multiple images simultaneously. The user may control the number of columns used to display the images. The column count may range in value from 1 to 3. Tiling Images is important both for display functionality and printing. When multiple images are tiled and printed, the printout format will reflect the tiling.
The number of Columns displayed selection is shown below circled in red:

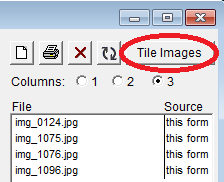
The Tile Images buttons is shown below circled in red:
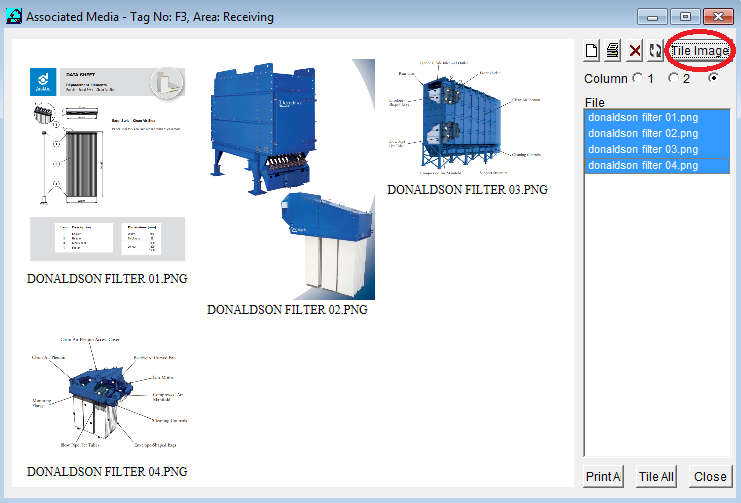
Below is an example of choosing a Column count of 3 and then clicking the Tile Images button:
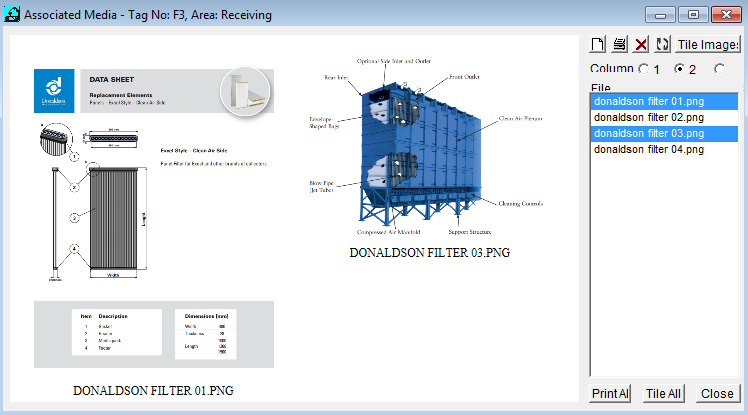
Tiling Images supports Multi-select of files using the Windows standard <CTRL> + click or <SHIFT> + click. Below is an example of choosing a Column count of 2 and using <CTRL> + click to select the “donaldson filter 01.png” and “donaldson filter 03.png” files:
The Print functionality supports printing individual or multiple images simultaneously. When multiple images are tiled as discussed above, the printout format will reflect the tiling. The Print button is shown below circled in red:
The user must choose file(s) to print prior to clicking the Print button shown above. Multi-select of files using the Windows standard <CTRL> + click or <SHIFT> + click combinations is supported. When the Print button is clicked, the Windows standard Print Dialog is displayed and the user chooses a printer destination.
My name is Thurston Clark, and I am the original and sole programmer of the Mechanic's Mate CMMS. I wrote every line of code, starting in the 1990s with FoxPro 2.6 and migrating it through to its current version in FoxPro 9.
To ensure the continuity of the software, I am available for expert support, data recovery, and custom modifications. You can read the full development case study for Mechanic's Mate on my professional portfolio site to learn more about my background.
If you are a current user needing assistance or a new customer with questions, please do not hesitate to reach out. You will be speaking directly with the programmer who wrote every line of its code.
Ready to take control of your maintenance operations and own your data?
Explore the Mechanic's Mate CMMS Product Page.
For support or inquiries, please Contact Me Here.